How We Built Automatic Docs with Kombuse
Documentation is the first thing users see and the last thing teams want to maintain. Screenshots go stale, tutorials drift from the actual UI, and keeping everything in sync is a manual grind.
We built a system that automates it — agents that navigate the Kombuse UI, capture screenshots, and write MDX tutorials. Here’s how it works.
Screenshots Through MCP
Section titled “Screenshots Through MCP”Kombuse’s desktop MCP tools give agents direct access to the running application. An agent can open a window, navigate to any page, and capture what’s on screen:
open_window({ path: "/projects/{id}/tickets" })→ { id: 5, title: "Kombuse", url: "..." }
take_screenshot({ window_id: 5 })→ PNG image of the tickets page
Under the hood, take_screenshot calls Electron’s webContents.capturePage(). The agent sees the rendered page exactly as a user would — real data, real layout, real state.
Why Web Content Capture
Section titled “Why Web Content Capture”There are two approaches to capturing screenshots in Electron: capturing the web content layer (webContents.capturePage()) or recording the full window including native chrome (desktopCapturer or native OS APIs). We chose web content capture deliberately.
No system permissions required. This is the biggest practical advantage. webContents.capturePage() reads directly from Chromium’s own rendering pipeline — it’s an in-process operation that needs zero OS-level permissions. desktopCapturer, by contrast, uses CGWindowListCreateImage on macOS, which Apple gates behind Screen Recording permission — even when capturing your own app’s windows. That means a system permission prompt, the app appearing in Security & Privacy settings, and a workflow that can’t run unattended without prior human approval. For an automated agent pipeline, that’s a dealbreaker.
Consistency across platforms. Native window chrome looks different on macOS, Windows, and Linux — different title bars, different button styles, different DPI. Web content is identical everywhere. Documentation stays accurate regardless of which OS built it.
Composable presentation. Separating content from chrome lets us control the presentation layer independently. The WindowFrame component renders a consistent macOS-style frame, but we could just as easily render Windows-style chrome, a minimal browser frame, or no frame at all — without retaking any screenshots.
Cursor and annotation freedom. With full window capture, the cursor is wherever it happened to be (or absent entirely). With content-only capture, we overlay a cursor at any position after the fact using the cursorX/cursorY props. Same for annotations, highlights, or callouts — they’re composable layers, not baked into the image.
Smaller file sizes. Content-only captures exclude the title bar, dock, and any OS-level overlays. The resulting PNGs are smaller and compress better, which matters when documentation includes dozens of screenshots.
Deterministic output. Native chrome introduces variables the agent can’t control: the window might be focused or unfocused (changing title bar opacity on macOS), notification badges might appear, or the OS theme might differ between runs. Content capture produces the same image every time for the same page state.
The trade-off is real: you lose native fidelity. A full window capture shows exactly what the user sees, including the real title bar. But for automated documentation that needs to stay consistent across platforms, builds, and time — composable layers win over pixel-perfect snapshots.
Making Screenshots Look Native
Section titled “Making Screenshots Look Native”Raw page captures don’t include window chrome — no title bar, no traffic light buttons. They look like cropped rectangles in docs. We solved this with a reusable WindowFrame component that wraps any image in a macOS-style window frame:
<WindowFrame title="Kombuse" cursorX={88} cursorY={10}> <Image src={ticketsEmpty} alt="The Kombuse tickets page" /></WindowFrame>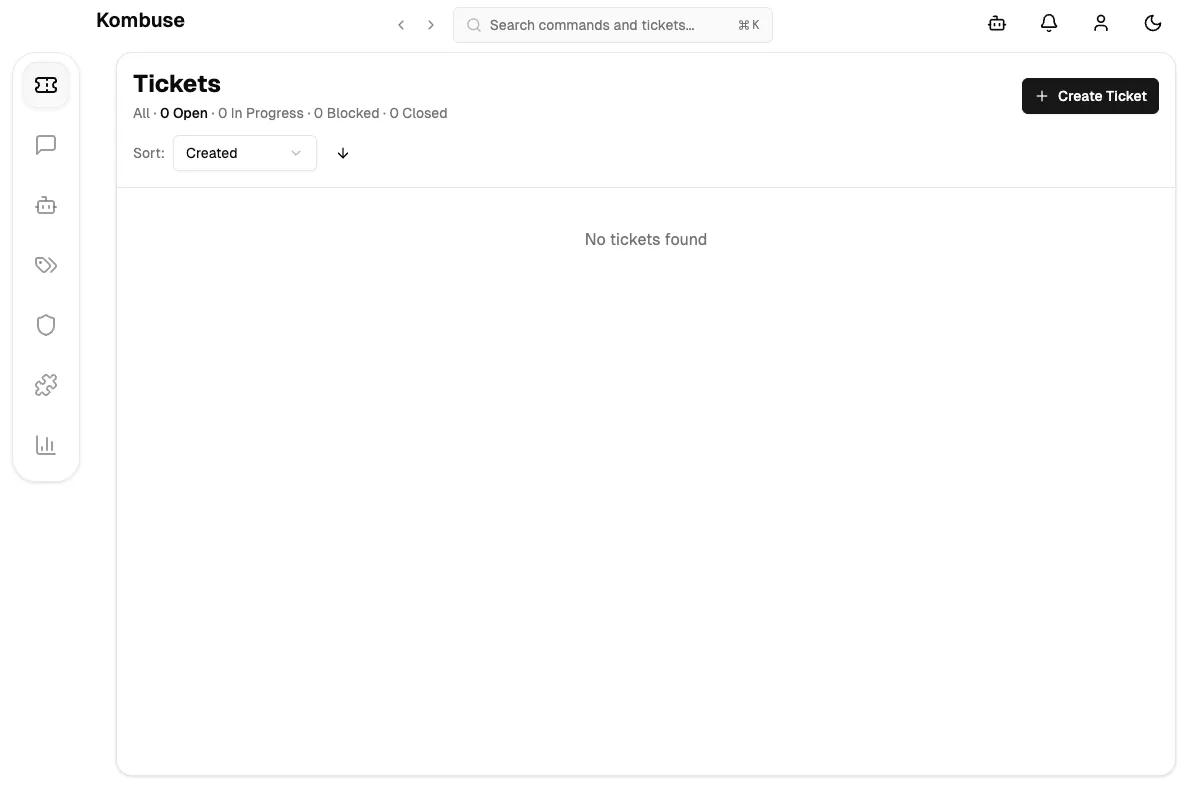
The component also accepts cursorX and cursorY props (percentages) to overlay a mouse cursor at any position — letting tutorial authors point at specific UI elements without needing to capture actual mouse state.
From Manual to Automated
Section titled “From Manual to Automated”With the tools in place, the manual workflow is: navigate the UI, screenshot it, save the image, write MDX, wrap it in a WindowFrame, commit. Every step requires a human.
To automate this, we designed a five-stage agent pipeline:
Planner → Navigator → Writer → Reviewer → PublisherPlanner reads a ticket and existing docs, then produces a tutorial script — a structured JSON document describing which pages to visit, what to capture, and how the tutorial should read.
Navigator walks through the script, opens windows, takes screenshots, saves them to src/assets/, and outputs a manifest of captured images with file paths.
Writer takes the script and manifest, then writes MDX files with proper frontmatter, Astro Image imports, and WindowFrame components.
Reviewer runs type checks, builds the docs site, screenshots the rendered result, and verifies completeness.
Publisher commits the changes and creates a PR.
Each agent does one thing well. Data flows between them via structured comments on the ticket.
Labels as a State Machine
Section titled “Labels as a State Machine”The pipeline is orchestrated through labels. Each stage has an input label that triggers it and an output label that triggers the next:
| Label | Triggers |
|---|---|
needs-docs | Planner |
docs-planned | Navigator |
docs-captured | Writer |
docs-written | Reviewer |
docs-reviewed | Publisher |
Adding needs-docs to any ticket kicks off the entire pipeline. Each agent fires on its input label, posts its output as a comment, and adds the next label. No orchestrator needed — the existing trigger system handles sequencing.
This also means any stage can be retried independently. If the Writer produces bad MDX, remove docs-written and re-add docs-captured to re-run just that stage.
Packaged as a Plugin
Section titled “Packaged as a Plugin”The whole pipeline ships as a single Kombuse plugin:
docs-tutorial-builder/├── .kombuse-plugin/│ └── plugin.json # Manifest + label definitions└── agents/ ├── tutorial-planner.md # YAML frontmatter + system prompt ├── tutorial-navigator.md ├── tutorial-writer.md ├── tutorial-reviewer.md └── tutorial-publisher.mdOne install creates all five agents, their labels, and trigger bindings. Enable/disable toggles the entire pipeline. Uninstall cleans everything up. The plugin is portable across projects — labels are referenced by name, agent self-references use $SELF placeholders.
What’s Next
Section titled “What’s Next”Two platform additions would unlock the full vision:
save_screenshot tool — combines capture, base64 decode, and file write into a single MCP call, closing the screenshot-to-file gap.
UI interaction via WebMCP — WebMCP lets web pages expose structured tools directly to agents. Instead of injecting JavaScript to click buttons, the tickets page would register a createTicket tool that agents call directly. The UI updates on screen, the agent screenshots the result. This turns every page into a cooperative partner for documentation, rather than a passive surface to scrape.
The building blocks are in place: desktop MCP tools for UI access, the agent system for execution, the plugin system for packaging, and label-driven triggers for orchestration. What remains is wiring them together.