Tickets
Tickets are the central hub for tracking work in Kombuse. Each ticket represents a task, bug, feature request, or any unit of work to be tracked. Tickets support statuses, priorities, labels, milestones, and full-text search — and AI agents can create, update, and comment on them autonomously.
The Ticket List
Section titled “The Ticket List”The ticket list shows all tickets for the current project. Each row displays the ticket number, title, status badge, priority label, labels, and a timestamp. Unread tickets show a small blue dot next to the ticket number and the title appears in bold.
Clicking any ticket opens its detail view.
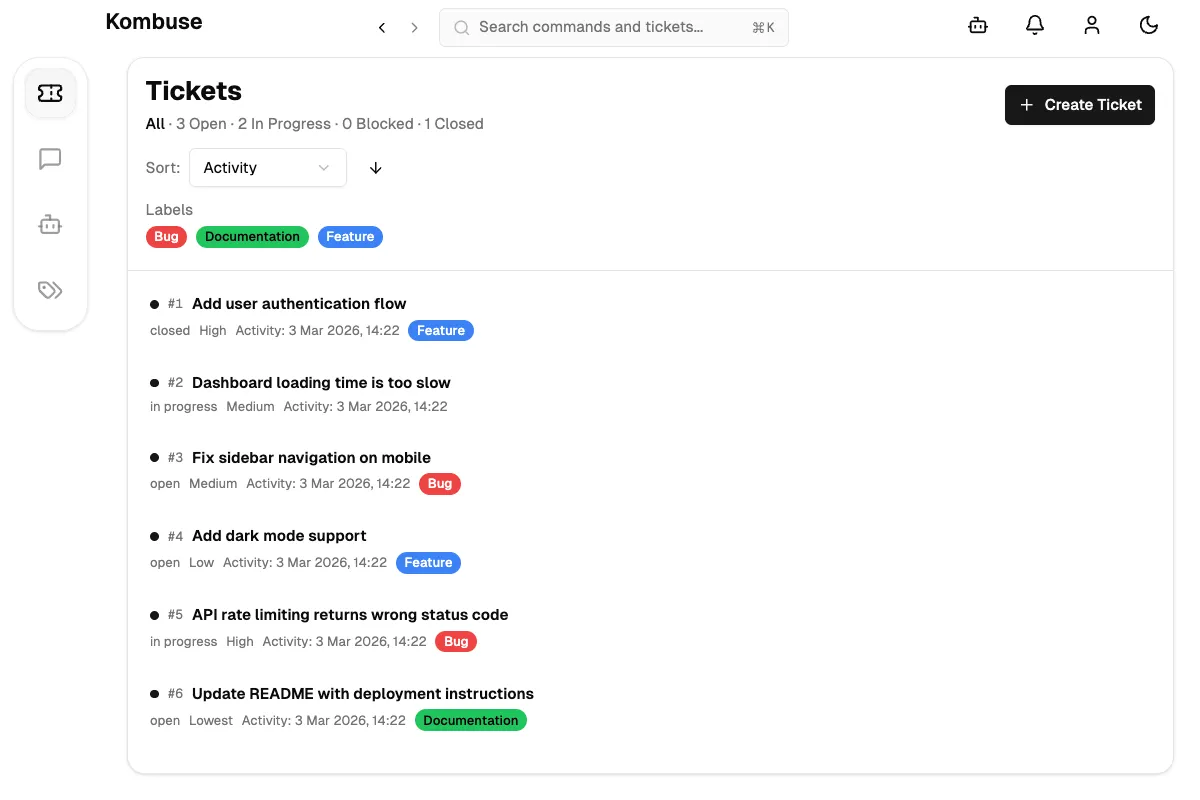
The status count bar at the top shows how many tickets are in each state — clicking any status filters the list. Label and milestone filter buttons appear below the status bar for quick filtering.
Creating a Ticket
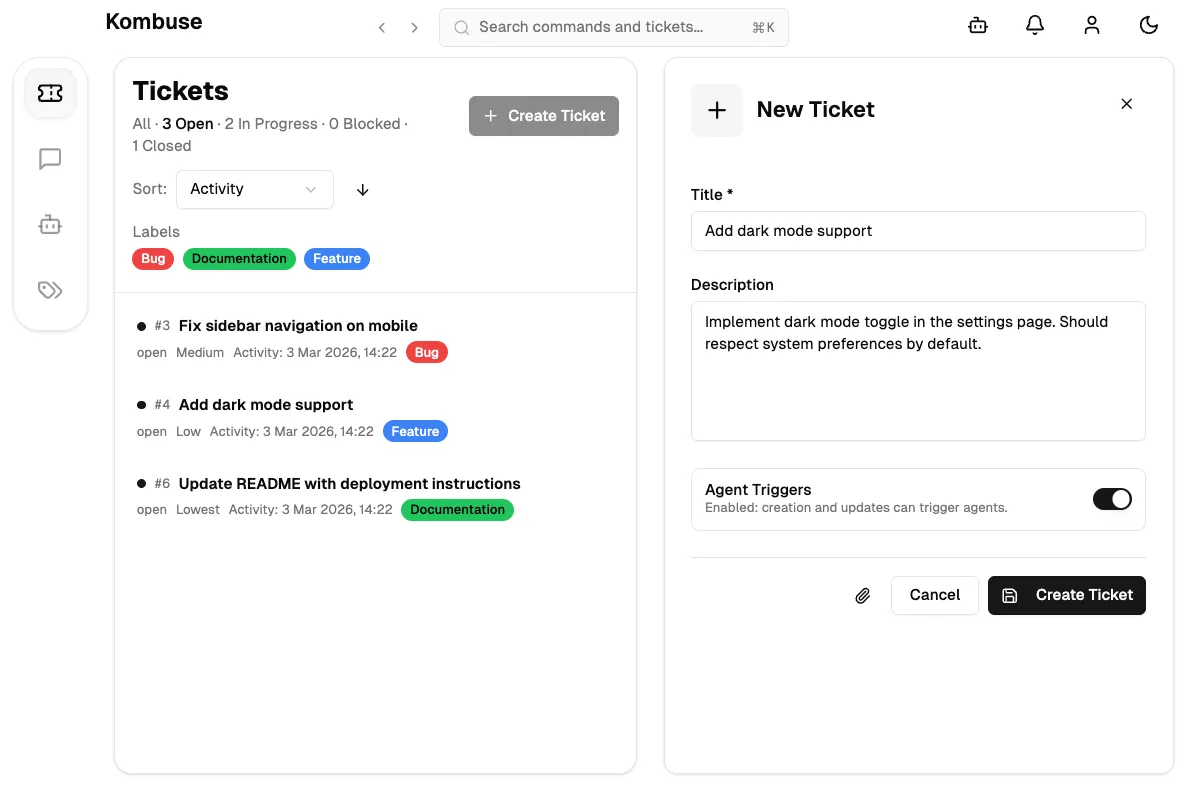
Section titled “Creating a Ticket”A new ticket is created by clicking the New Ticket button in the top-right corner of the ticket list.
The form has three parts:
- Title — a short summary of the work (required).
- Description — an optional longer explanation. The description field supports Markdown and drag-and-drop file attachments.
- Agent Triggers — a toggle (enabled by default) that allows configured agents to respond when the ticket is created.
Clicking Create Ticket saves the ticket, and Cancel discards it.
Viewing a Ticket
Section titled “Viewing a Ticket”The ticket detail view shows the full ticket information. The header displays the ticket number, title, and status badge. Below the header, any applied labels and the assigned milestone (with a progress count like “2/5”) are visible.
The description area supports Markdown and collapses automatically if it is longer than 200 characters or contains multiple lines. Below the description is the Activity timeline showing comments and events.
At the bottom is a comment input for adding comments, @mentioning users or agents, and referencing other tickets with the # + number syntax.

Sessions in the Timeline
Section titled “Sessions in the Timeline”When an agent performs actions on a ticket — creating comments, changing status, adding labels — each action appears as a timeline event in the ticket’s Activity section. These events are automatically linked to the agent’s session, making every change traceable back to the session that produced it.
Timeline events with a linked session display a clickable icon next to the event description. A zap icon (⚡) indicates the session was started by a trigger (such as a label.added or mention.created event). A message icon indicates the session was started from chat. Hovering over the icon shows a “View session” tooltip.
Clicking the icon opens the Session Viewer panel at the bottom of the ticket detail view, where the full session transcript — including tool calls, permission requests, and agent reasoning — can be reviewed. The URL updates to include a ?session= parameter, making the link shareable and bookmarkable.
For completed or failed agent events, two additional buttons appear alongside the session icon:
- Resume (play icon) — continues the agent session from where it stopped
- Rerun (rotate icon) — starts the agent fresh on the same ticket
This creates a complete audit trail: every agent action is traceable back to its session, and sessions can be inspected in full from the timeline.
Editing Tickets
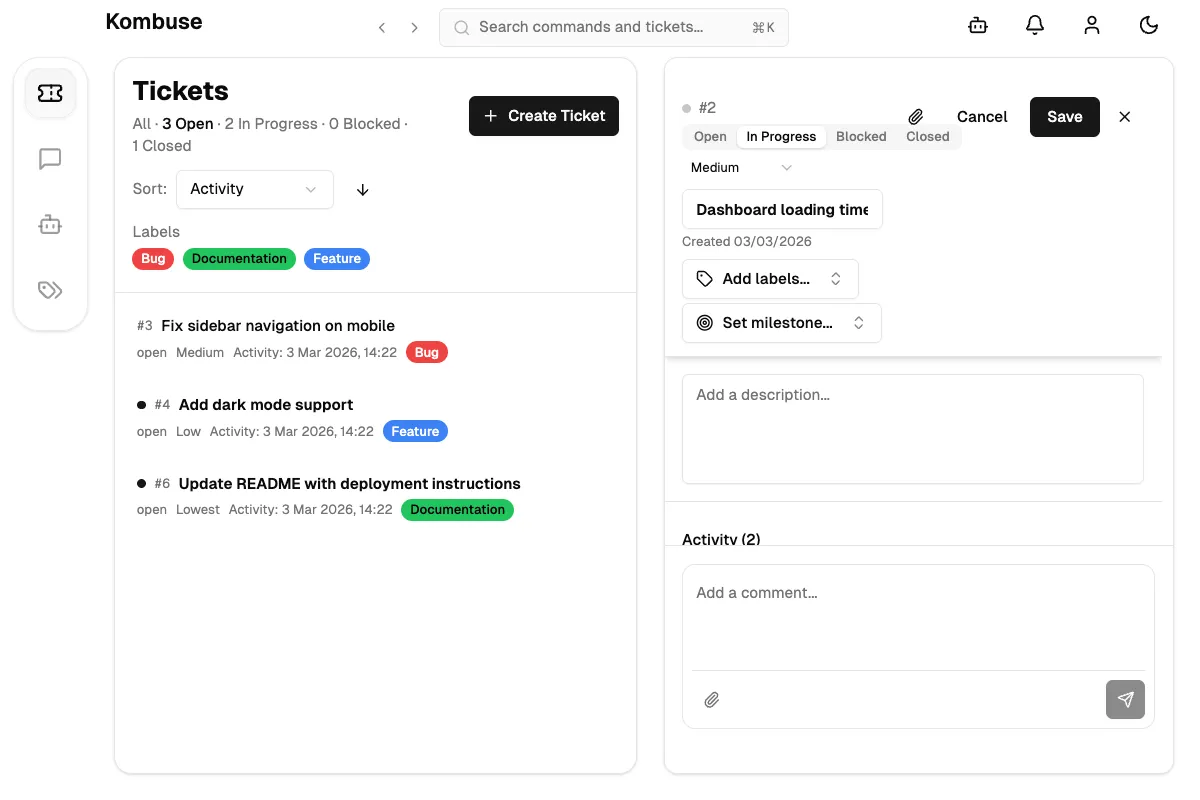
Section titled “Editing Tickets”Clicking the pencil icon in the ticket header enters edit mode. The following fields become editable:
- Title — the ticket summary.
- Description — editable with Markdown and file attachments.
- Status — four tab options: Open, In Progress, Blocked, or Closed.
- Priority — a dropdown: No priority, Lowest, Low, Medium, High, or Highest.
- Labels — labels are added or removed using the multi-select popover.
- Milestone — a milestone is assigned using the single-select popover.
- Agent Triggers — toggles whether agents can respond to changes on this ticket.
Clicking Save applies the changes, and Cancel discards them. A delete button (trash icon) is also available — it shows a confirmation dialog before permanently removing the ticket and all its comments.
Status Workflow
Section titled “Status Workflow”Every ticket has one of four statuses:
- Open (green) — the default status for new tickets. Work has not started yet.
- In Progress (yellow) — work has begun on this ticket.
- Blocked (red) — work is stalled due to a dependency or issue.
- Closed (gray) — the ticket is resolved or no longer relevant.
Any status can transition to any other status — there is no enforced linear workflow. Statuses appear as color-coded badges throughout the UI: in the ticket list, detail view, and search results.
Priority Levels
Section titled “Priority Levels”Tickets support five priority levels, numbered 0 through 4:
- Lowest (0)
- Low (1)
- Medium (2)
- High (3)
- Highest (4)
New tickets default to “No priority.” Priority is displayed as a text label in the ticket list and as a dropdown selector in edit mode. The ticket list can be sorted by priority using the sort controls.
Labels
Section titled “Labels”Labels are colored tags for categorizing tickets. Each label has a name and a color.
To manage labels on a ticket, edit mode is entered and the labels area is clicked to open the selector. The selector allows searching labels by name, toggling them on and off, and creating new labels with a custom color.
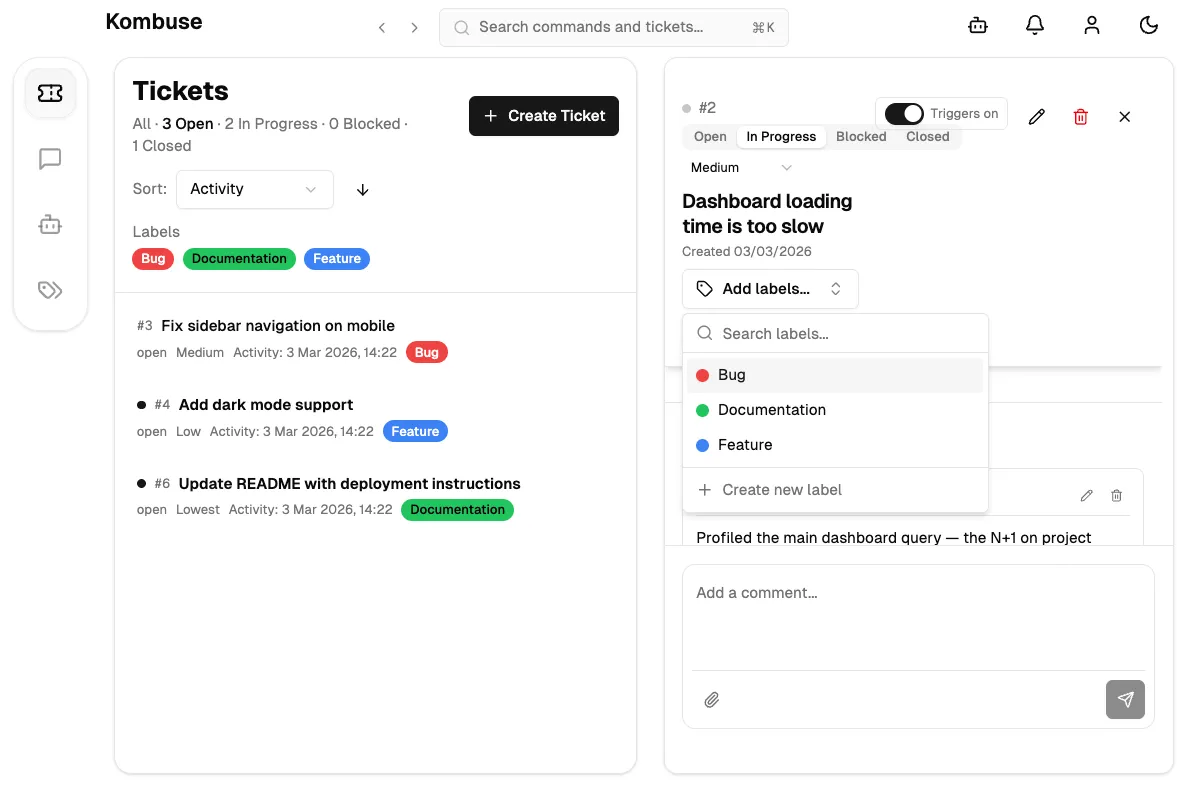
Smart labels have an agent trigger attached. These display a zap icon next to the label name with a “Triggers an agent” tooltip. When a smart label is added to a ticket, the associated agent is automatically invoked. Smart labels appear when an agent trigger is configured on a label.
In the ticket list, labels also appear as filter buttons — clicking a label filters the list to only tickets with that label.
Milestones
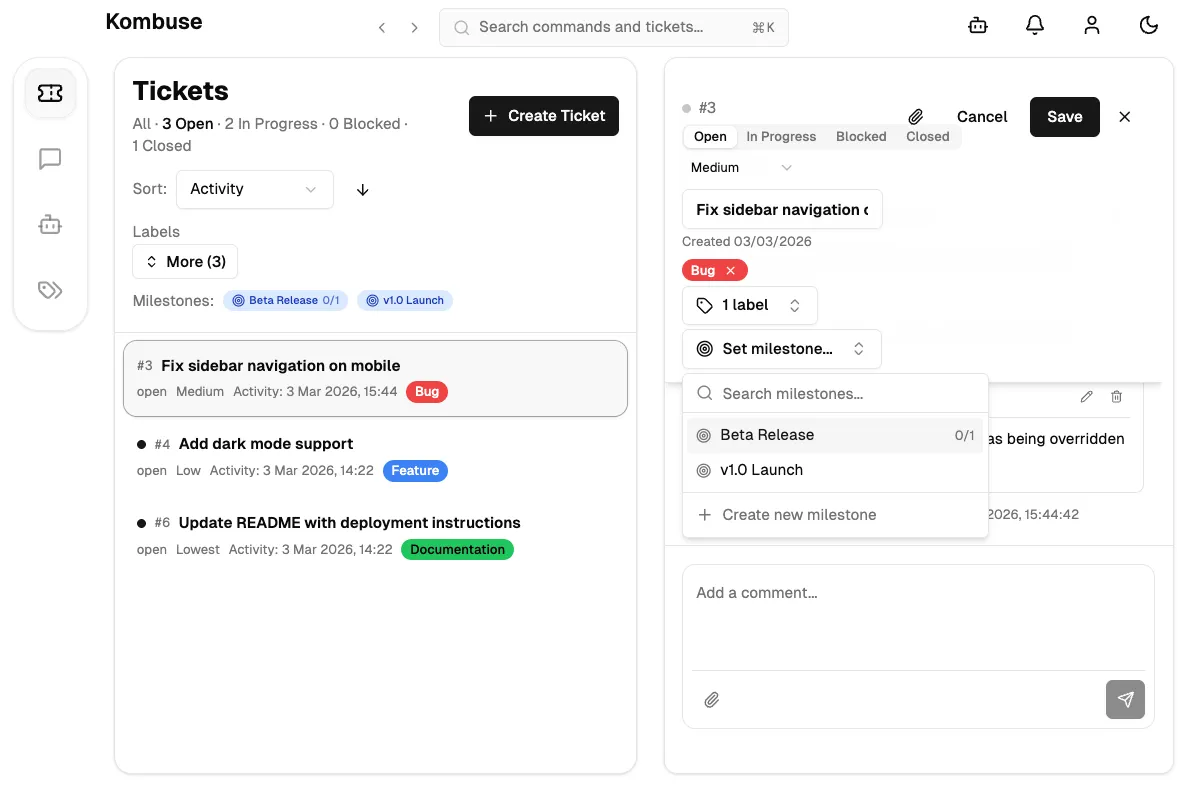
Section titled “Milestones”Milestones group related tickets to track progress toward a goal. A milestone badge shows a target icon, the milestone title, and a progress count (for example, “2/5” meaning 2 of 5 tickets are closed).
To assign a milestone, edit mode is entered and “Set milestone…” is clicked to open the selector. The selector supports searching milestones and creating new ones with a title, optional description, and optional due date.
In the ticket list, milestones appear as filter buttons alongside labels. Milestone badges are color-coded: blue for open milestones, gray for closed ones.
Filtering and Sorting
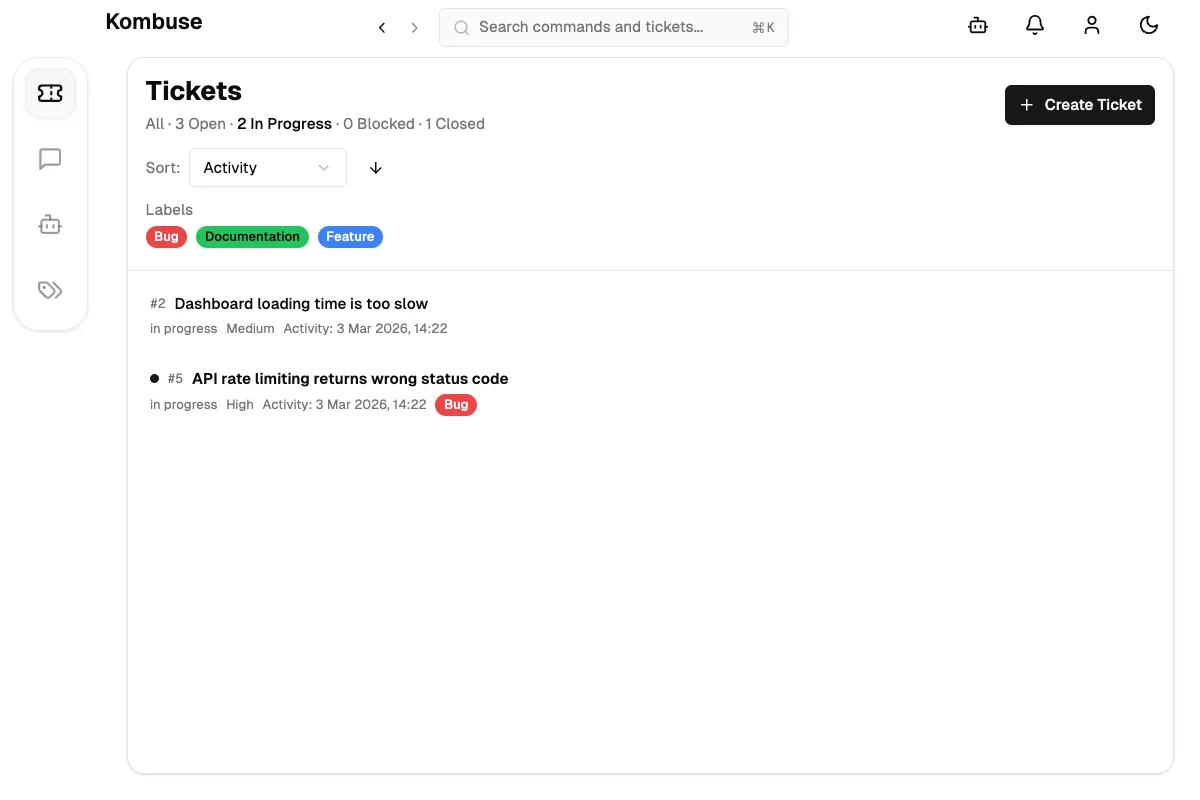
Section titled “Filtering and Sorting”The ticket list header shows status counts as clickable filters: All, Open, In Progress, Blocked, and Closed. Clicking any status filters the list.
Below the status bar, label and milestone buttons allow further filtering. Clicking a label or milestone toggles it as a filter. A More button reveals additional labels in a popover with a search input.
Sort controls allow ordering tickets by created date, updated date, last activity, or priority — in ascending or descending order. All filter and sort state is stored in the URL, so filtered views are shareable.
Searching Tickets
Section titled “Searching Tickets”Every ticket, comment, and agent decision in Kombuse is stored locally and fully indexed. This makes the entire project history — including agent reasoning, code review feedback, and architectural discussions — instantly searchable.
Search is not just navigation; it is a tool for traceable decision-making. When an agent analyzes a bug, plans an implementation, or reviews code, its reasoning is preserved in ticket comments and searchable. Weeks later, searching for a function name or design pattern surfaces not just where it was discussed, but why specific decisions were made.
Before starting work on a feature, searching for related tickets can surface previous implementations, agent analyses, and review feedback. The indexed history becomes a knowledge base tailored to the codebase.
This is a key advantage of local-first tooling: the decision trail stays on the machine, private and indexed, rather than scattered across cloud services.
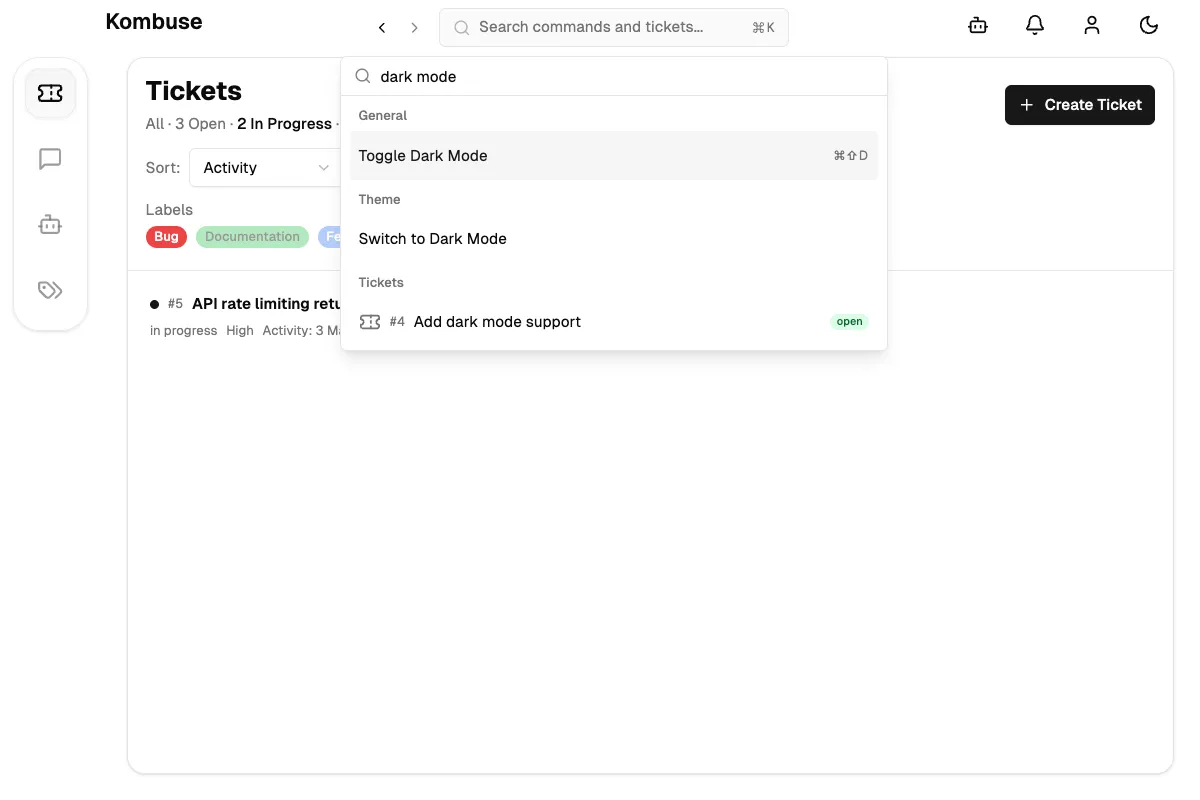
Ticket search is available through the command palette. The search bar at the top of the page (labeled “Search commands and tickets…”) or the keyboard shortcut ⌘K (Ctrl+K on Windows/Linux) opens it.
Typing any text searches across ticket titles, bodies, and comments. Results appear in real-time with the ticket number, title, status badge, and a highlighted snippet showing where the match was found (labeled “Body:” or “Comment:”).
A ticket number prefixed with # can also be typed to navigate directly to a specific ticket. The search uses full-text search with stemming, so searching for “run” will also match “running.”
Unread Tracking
Section titled “Unread Tracking”Kombuse tracks unread activity per ticket. When a ticket has new comments or updates that have not been viewed, a small blue dot appears next to the ticket number in the list and the title appears in bold. Opening the ticket automatically marks it as read.
This helps with quickly scanning the ticket list to see which tickets have new activity since the last visit.
See also
Section titled “See also”- Comments & Mentions — collaborate on tickets using comments, @mentions, and attachments
- Projects — create and configure projects to organize your work