Quickstart
This guide covers the initial setup flow: downloading Kombuse, configuring an agent backend, creating a project, starting a chat session, and installing the agent plugin.
Download and Launch
Section titled “Download and Launch”Kombuse is available from kombuse.dev or directly from the GitHub releases page. Installers are provided for macOS. After downloading, open the installer and follow the standard installation steps.
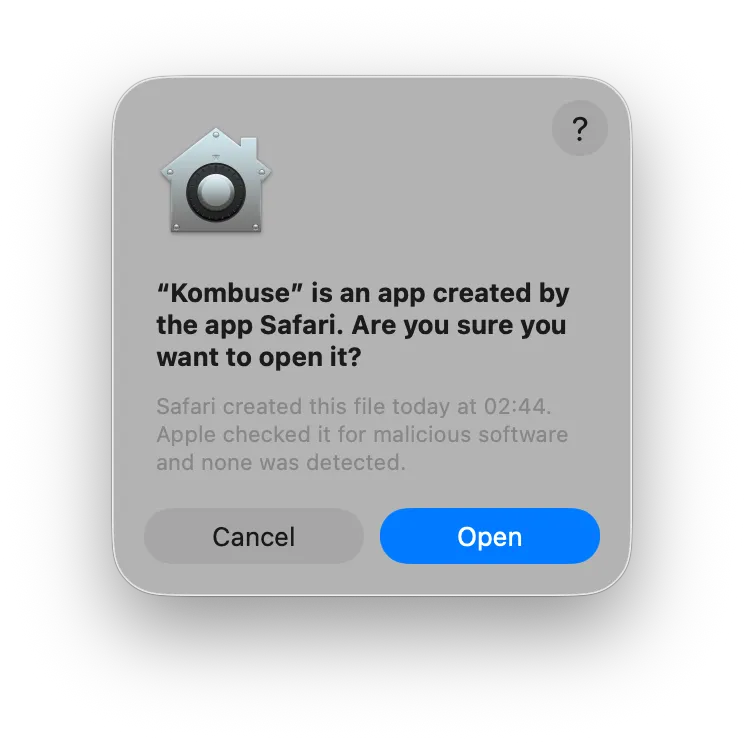
On first launch, macOS may show a security dialog: “Kombuse” is an app created by the app Safari. Are you sure you want to open it? Click Open to proceed.
Set Up an Agent Backend
Section titled “Set Up an Agent Backend”Kombuse runs AI agents by spawning CLI processes. On first launch, if no supported backend executable is found on the system PATH, Kombuse displays a No agent backends found screen.
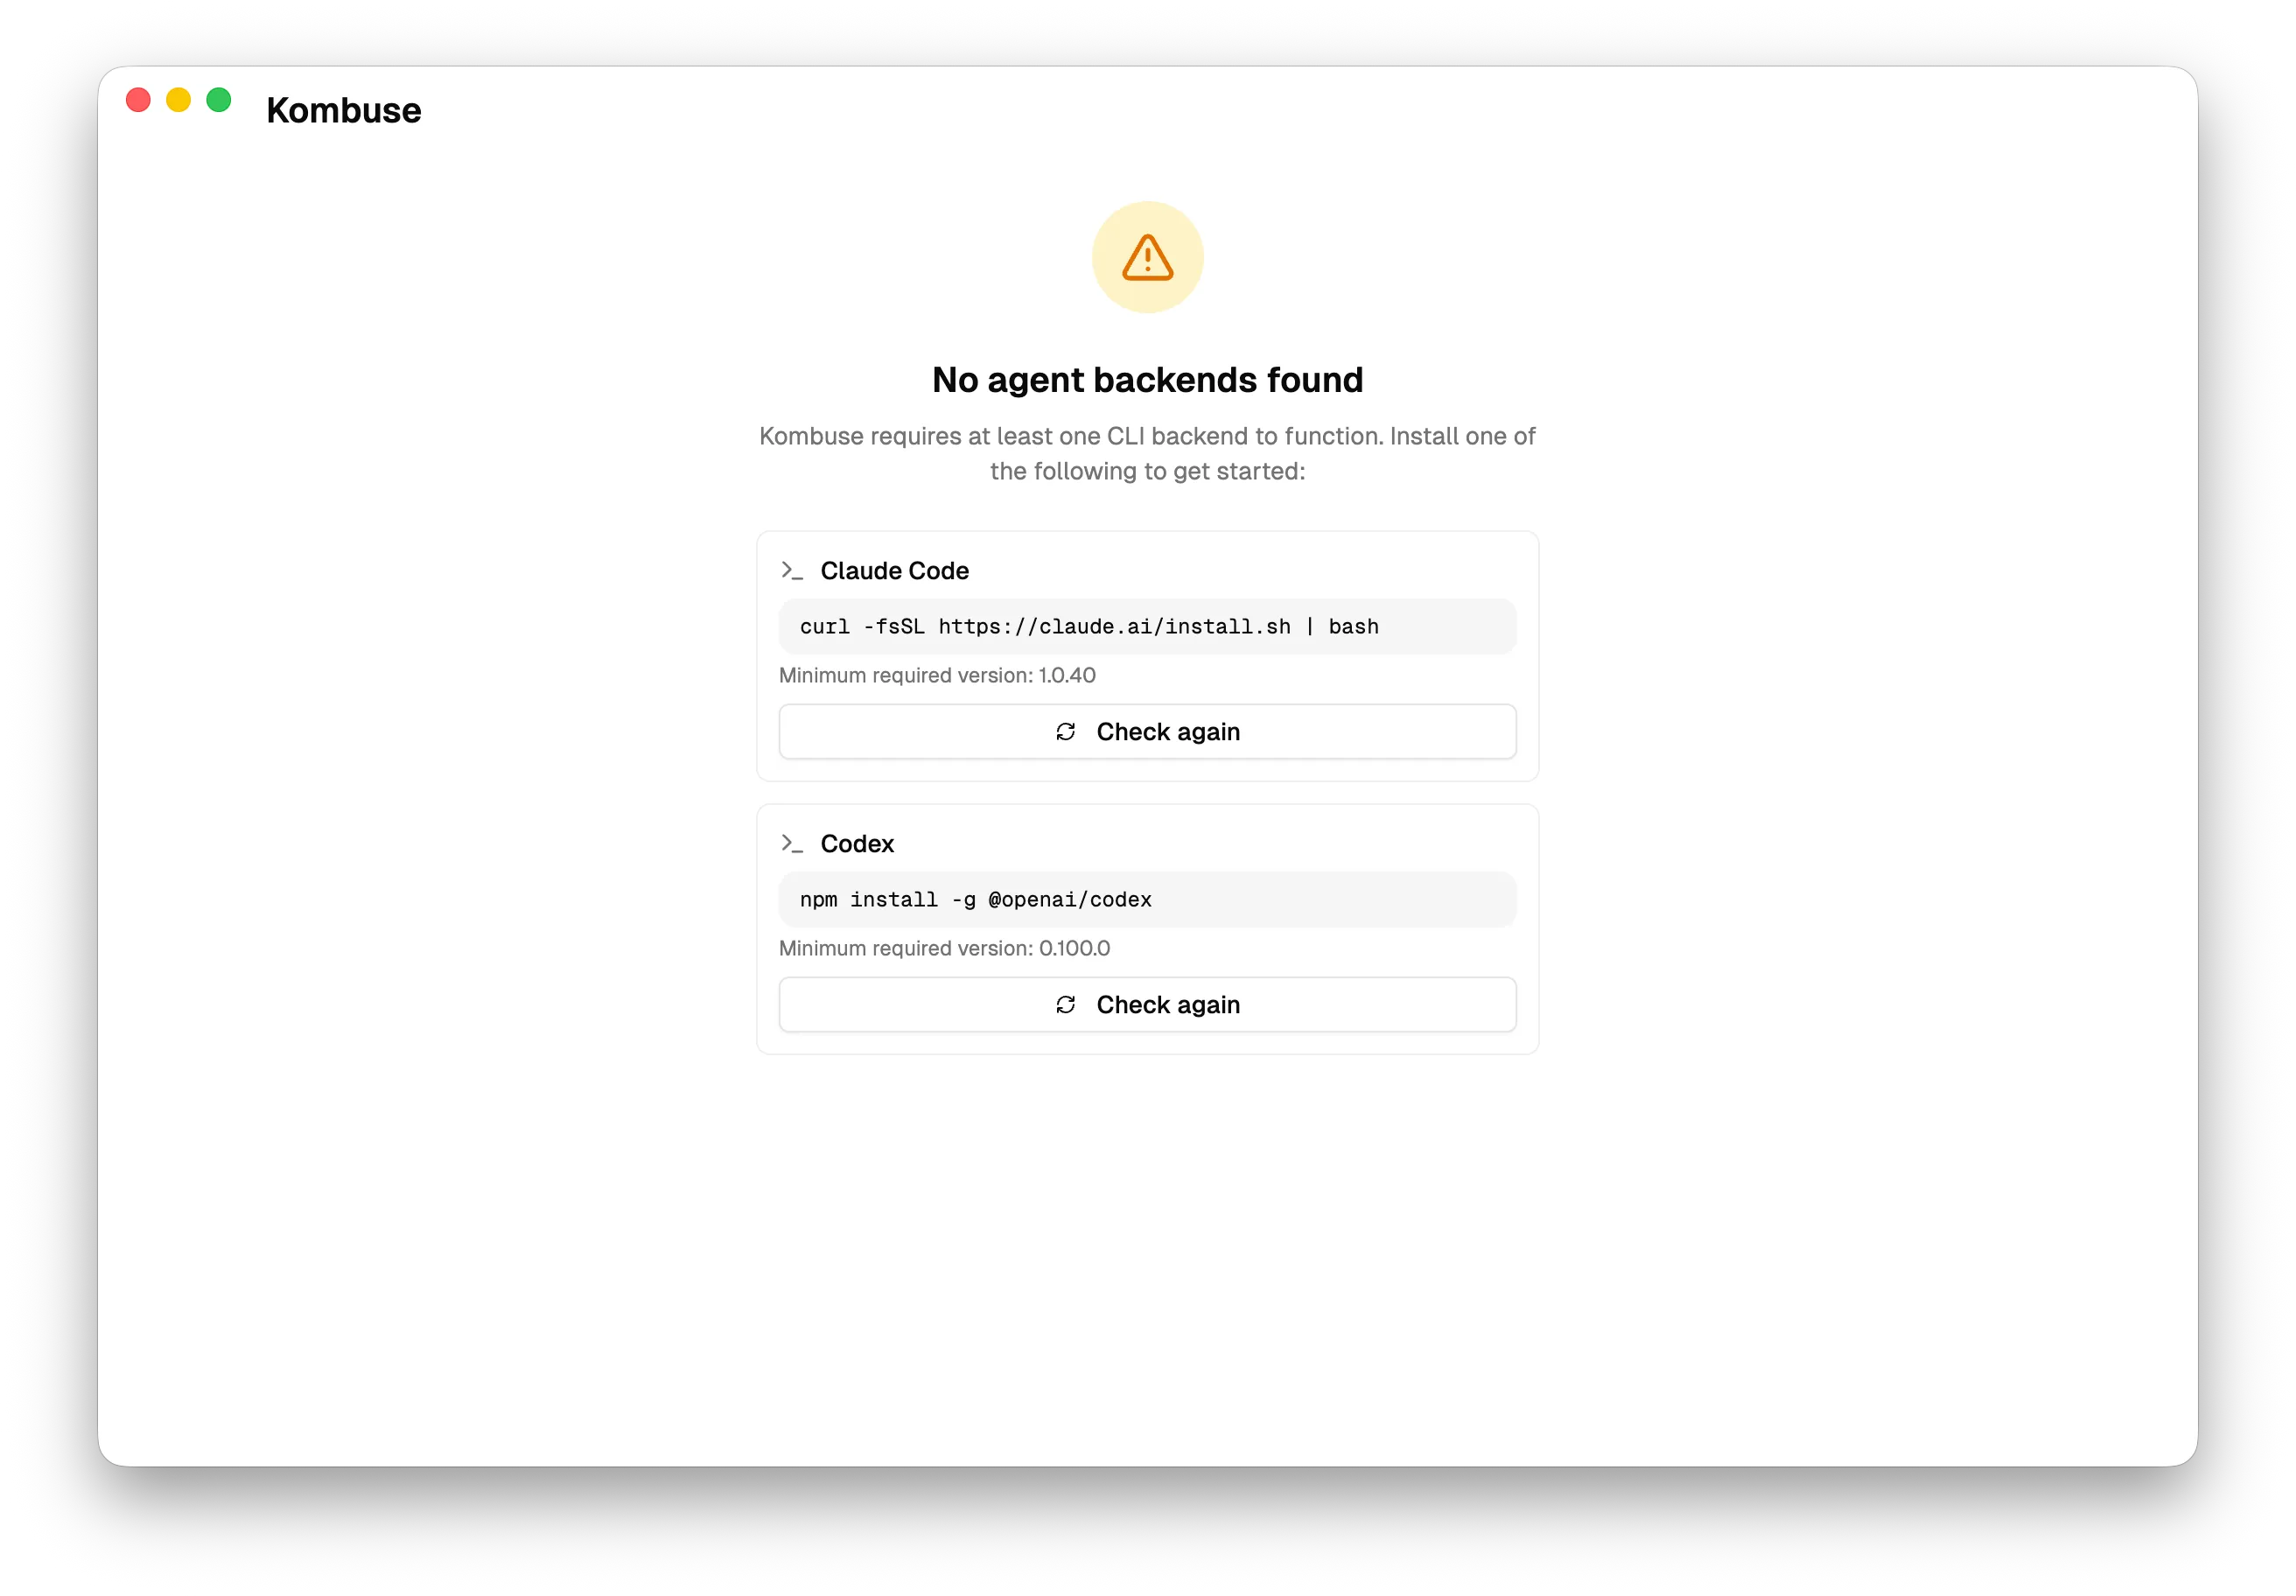
Two backends are currently supported:
- Claude Code —
curl -fsSL https://claude.ai/install.sh | bash - Codex —
npm install -g @openai/codex
Install at least one backend, then click Check again. Kombuse will detect the newly installed executable and proceed to the home page.
Create a Project
Section titled “Create a Project”The home page lists all projects. Kombuse automatically scans the file system for directories where Claude Code has been used and surfaces them in a Discovered from Claude Code section.
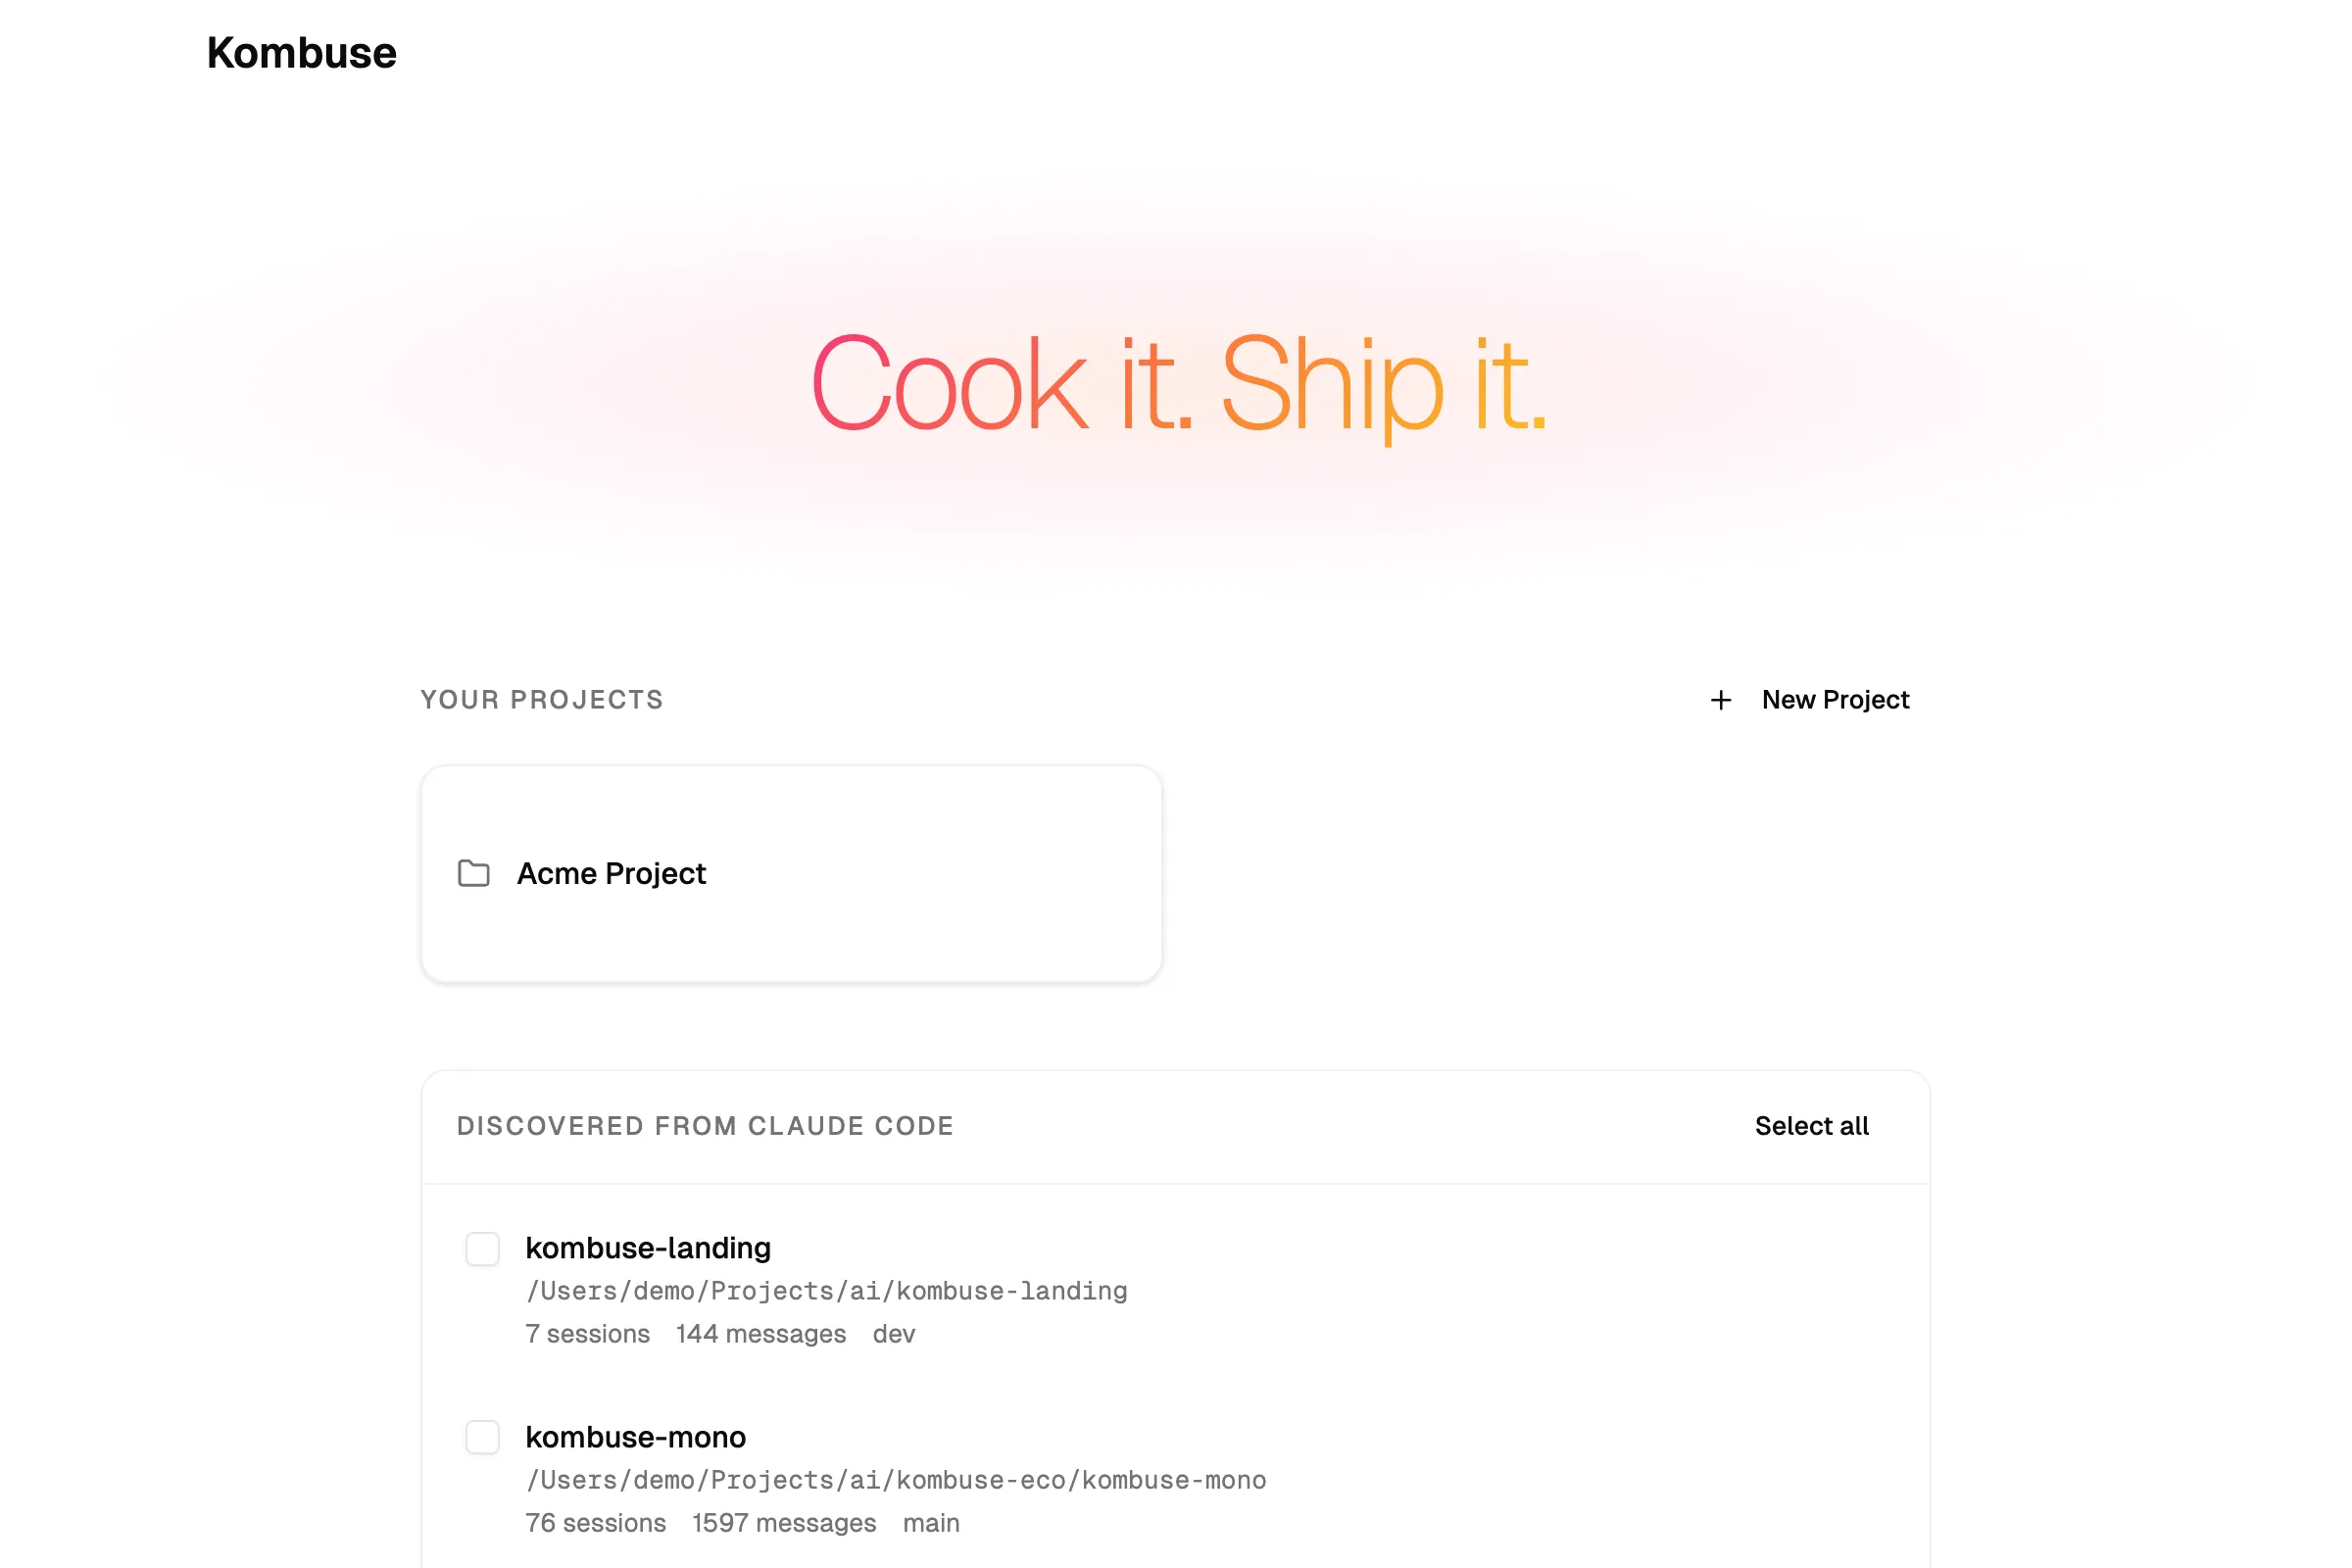
To create a project manually, click + New Project. The Create Project dialog opens, where a directory path can be entered. The folder name becomes the project name (editable later in project settings). Click Create Project to finish.
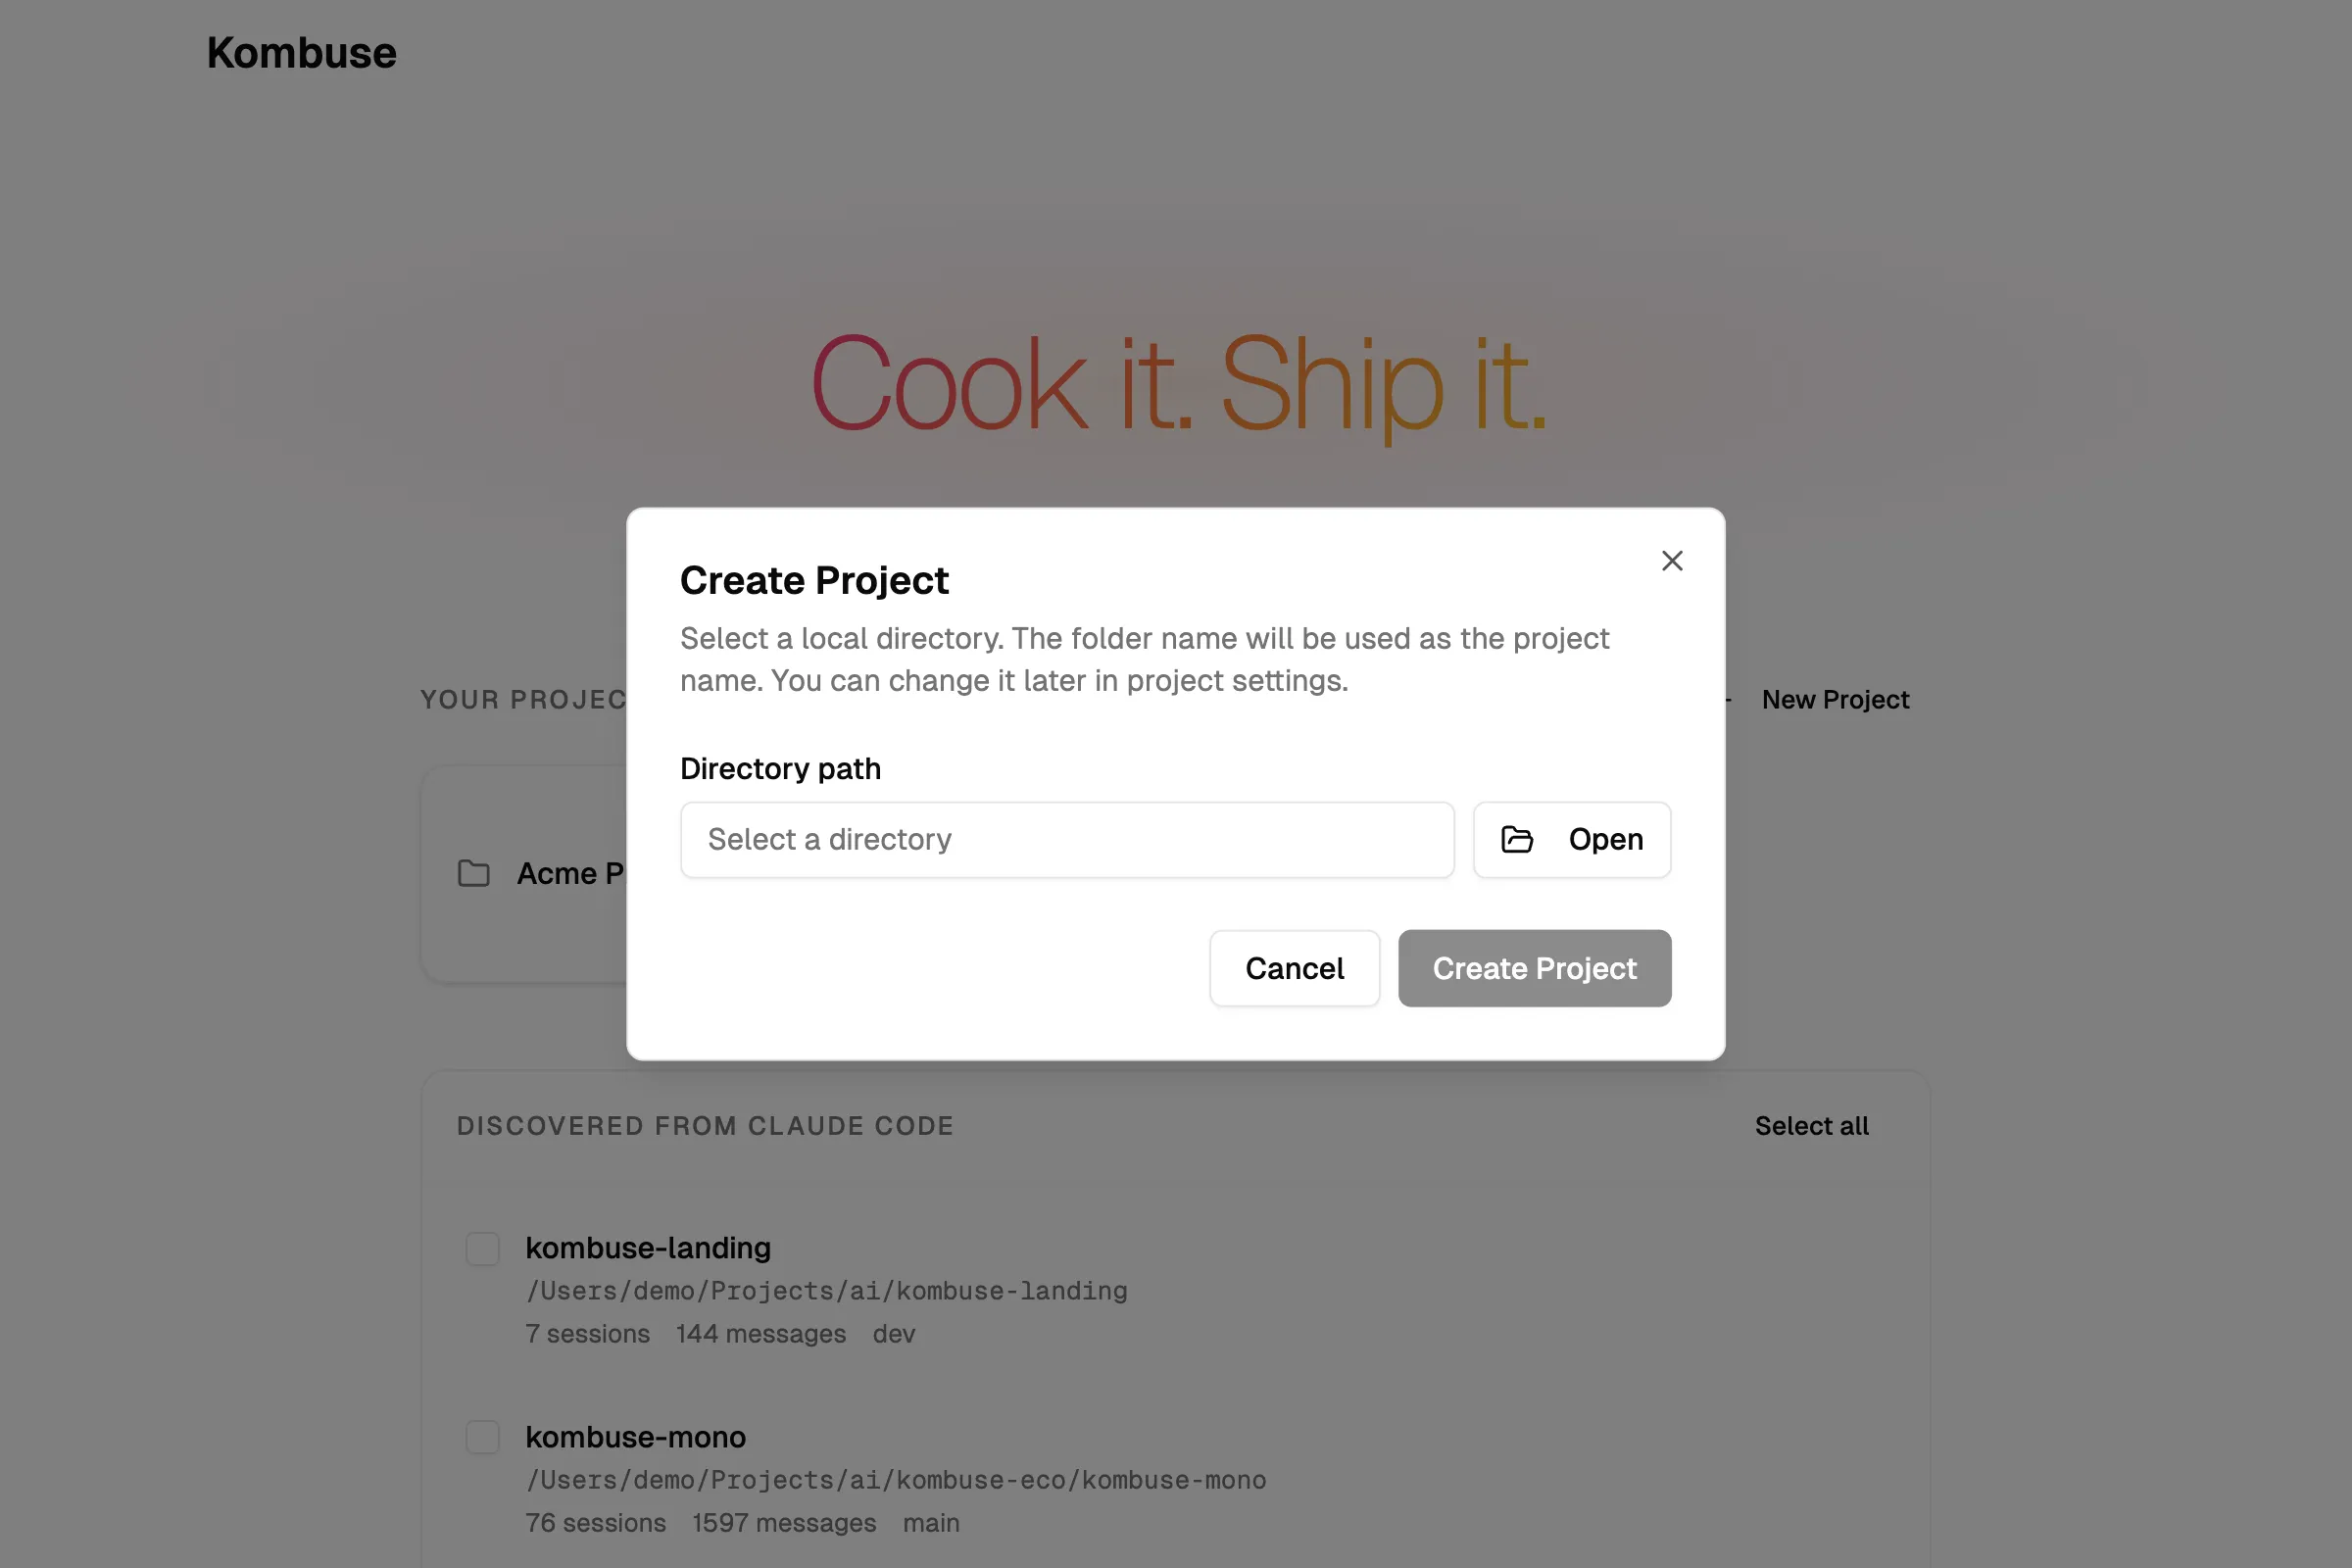
Discovered projects can be imported with a single click from the home page — no directory entry required.
Start Your First Chat
Section titled “Start Your First Chat”Navigate to Chats in the project sidebar and click + New Chat. The input toolbar at the bottom of the chat view provides three controls:
- Backend selector — choose which CLI backend to use (e.g. Claude Code)
- Model selector — pick a specific model or use the backend’s default
- Agent picker — optionally attach a configured agent to the session (defaults to No agent)
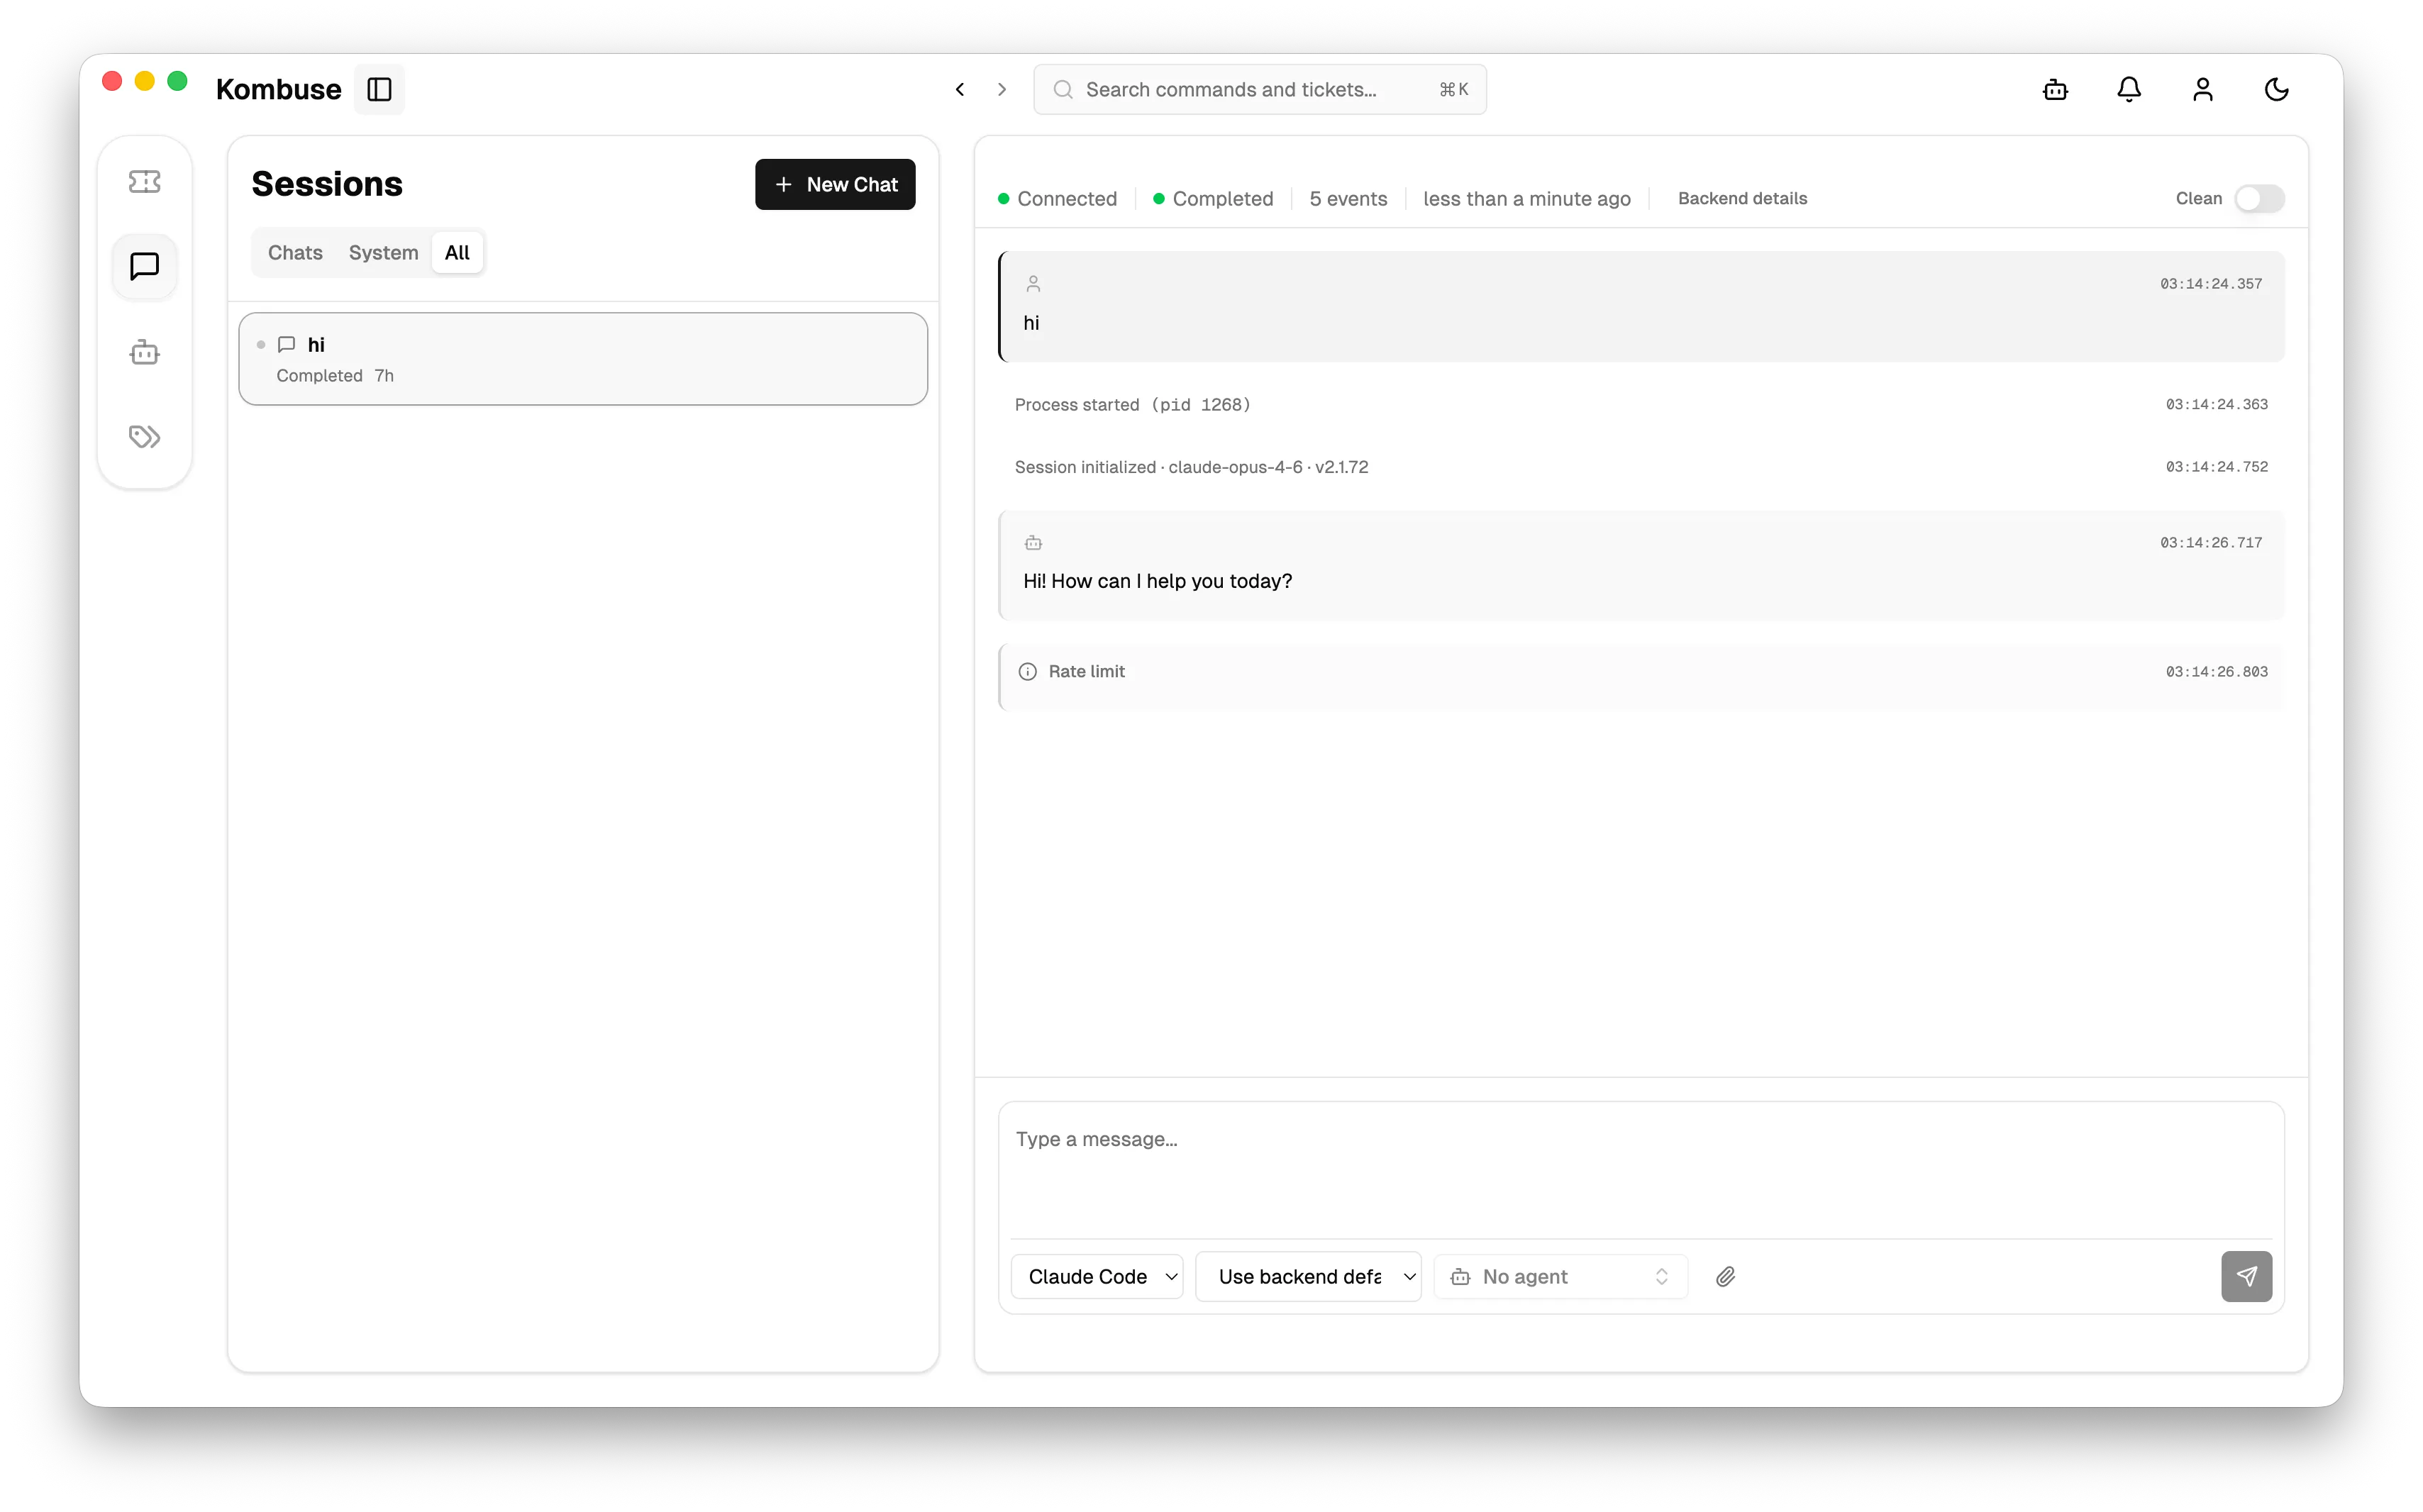
Type a message and send it. Kombuse spawns a backend CLI process, connects to it, and streams the response in real time. Each chat session runs as a full backend process — equivalent to running the CLI directly, with a visual interface layered on top.
If the agent output is visible in the chat, the basic setup is complete — congratulations! Kombuse is connected to the backend and ready to use.
Install the Agent Plugin
Section titled “Install the Agent Plugin”Kombuse ships with a dev plugin — kombuse/kombuse-dev — that provides a complete development pipeline ready to use across many projects. It includes generic agents for ticket triage, implementation planning, code implementation, code review, summarization, and an orchestrator that routes tickets through the full pipeline automatically.
Navigate to Agents in the project sidebar. On a fresh setup, the page shows a Get started with agents prompt with an Install kombuse/kombuse-dev button.
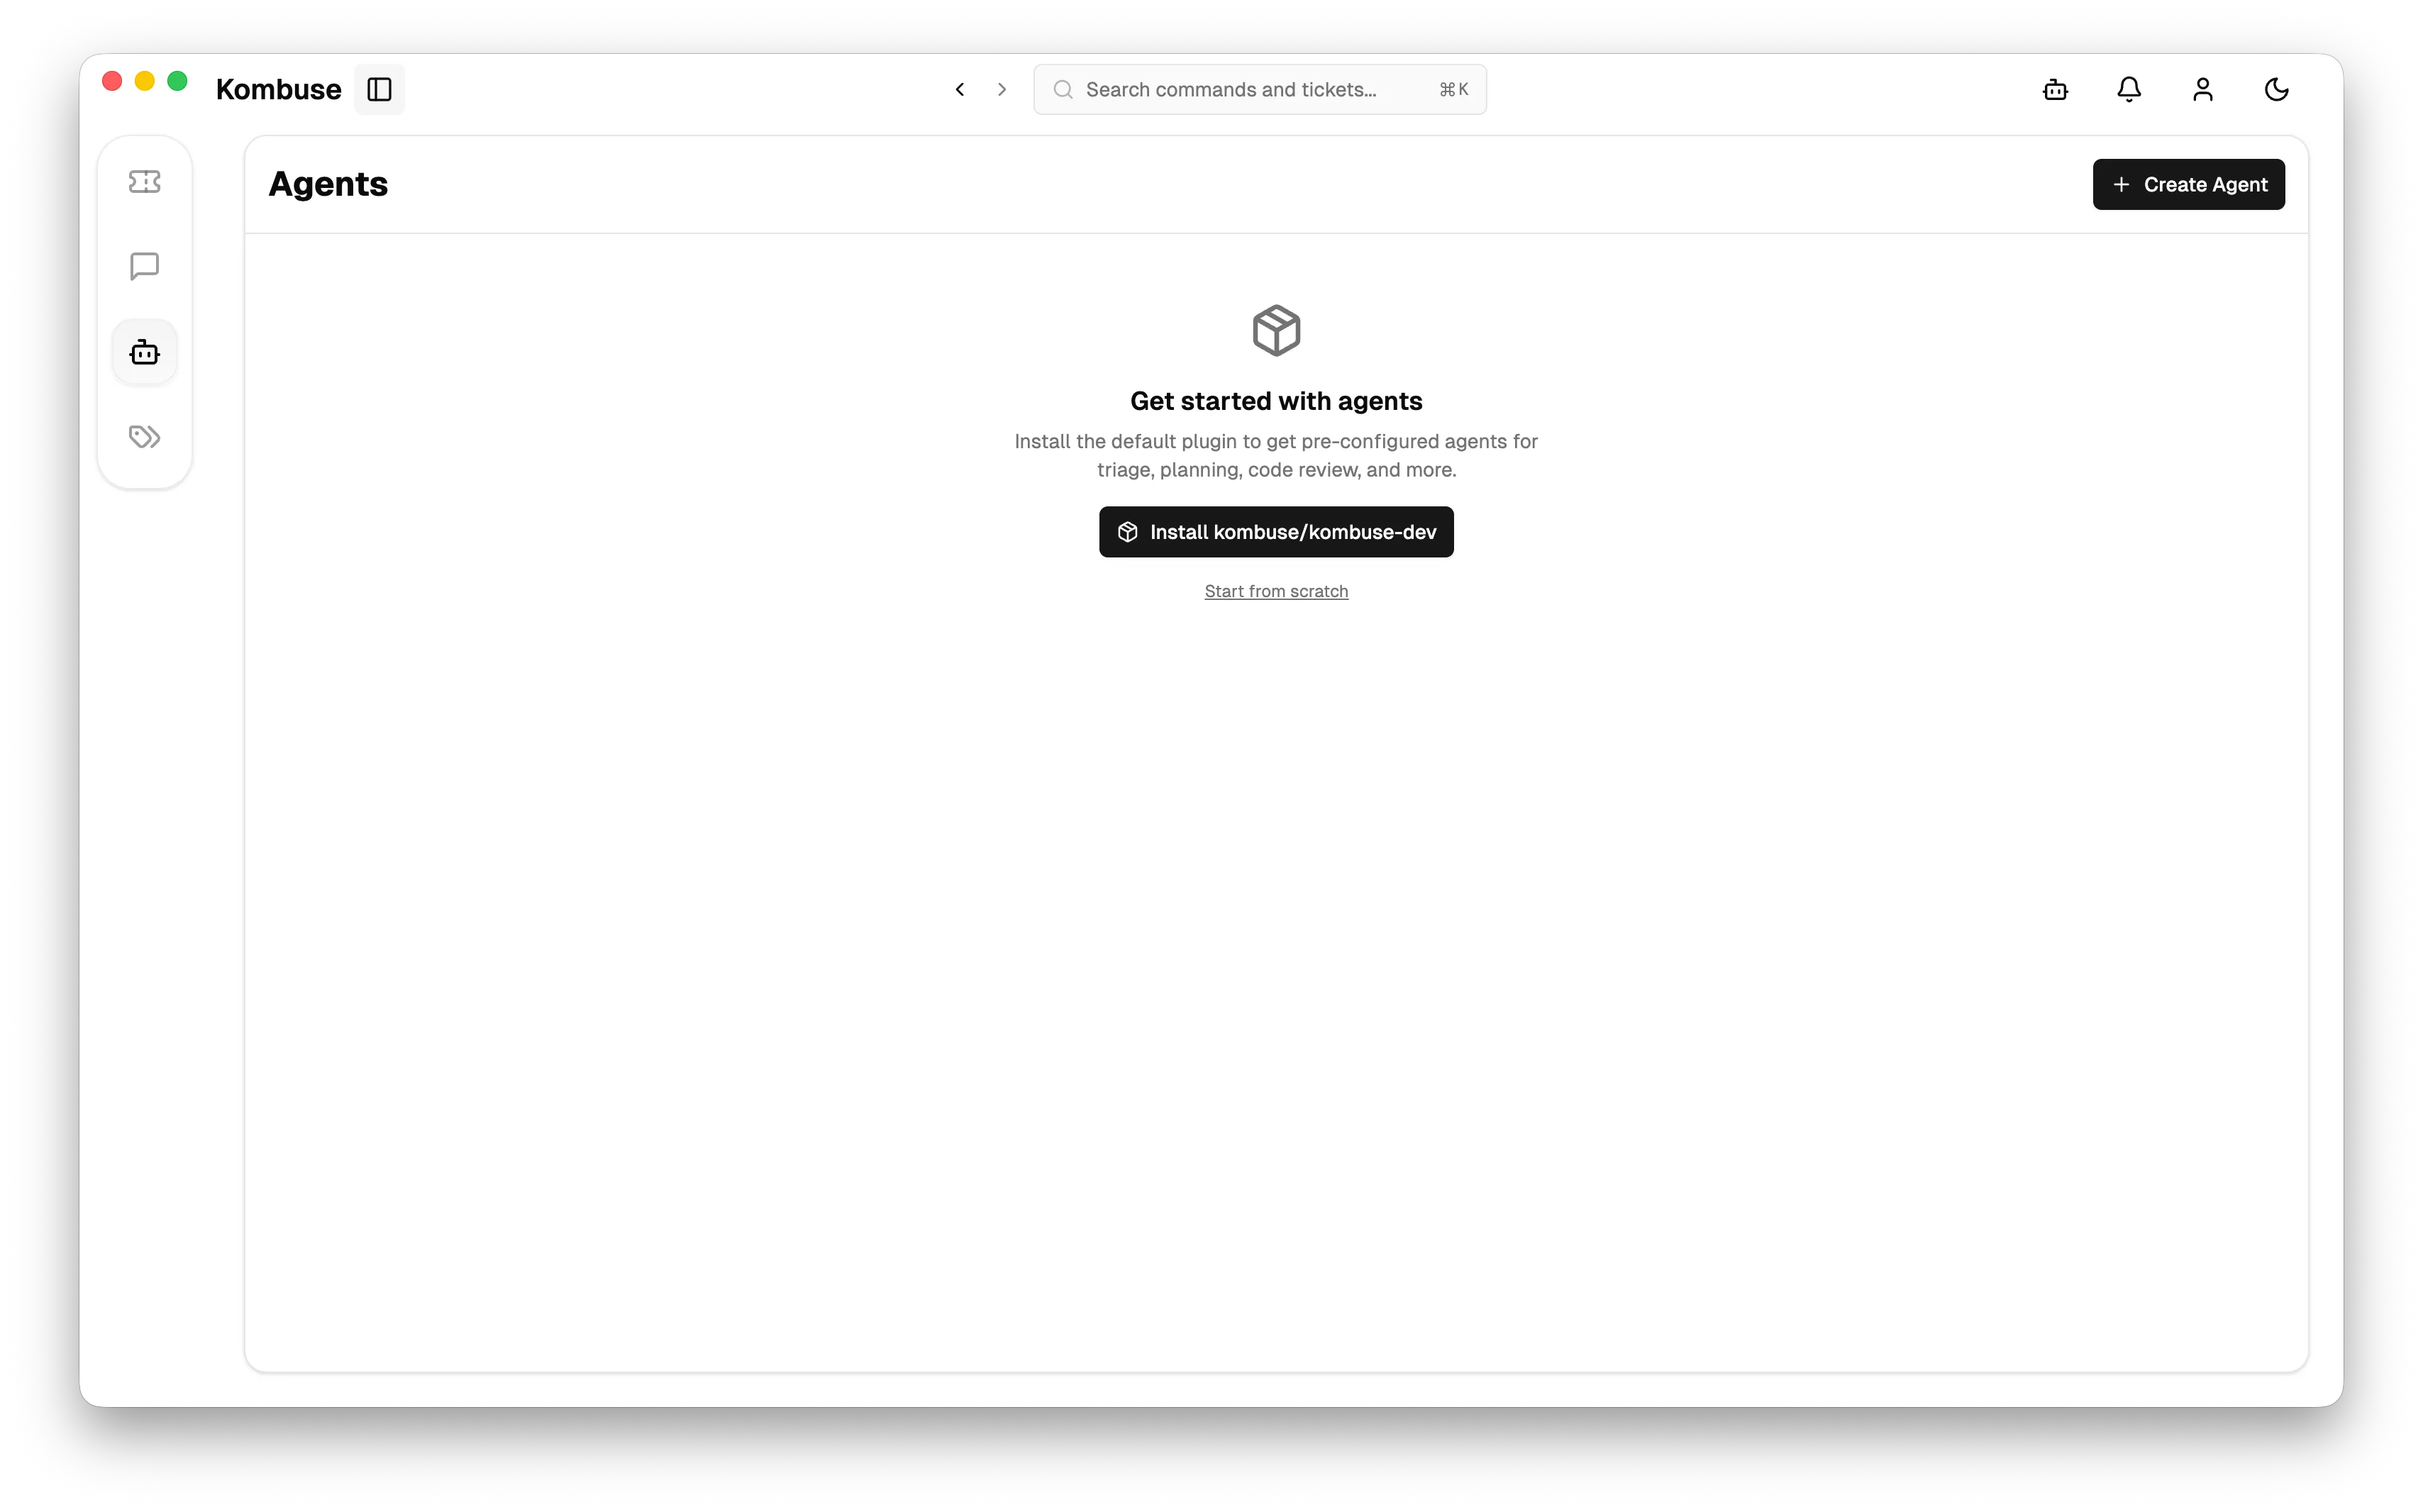
Click Install kombuse/kombuse-dev to install the plugin. Once installed, the Agents page lists all available agents with their names and descriptions.
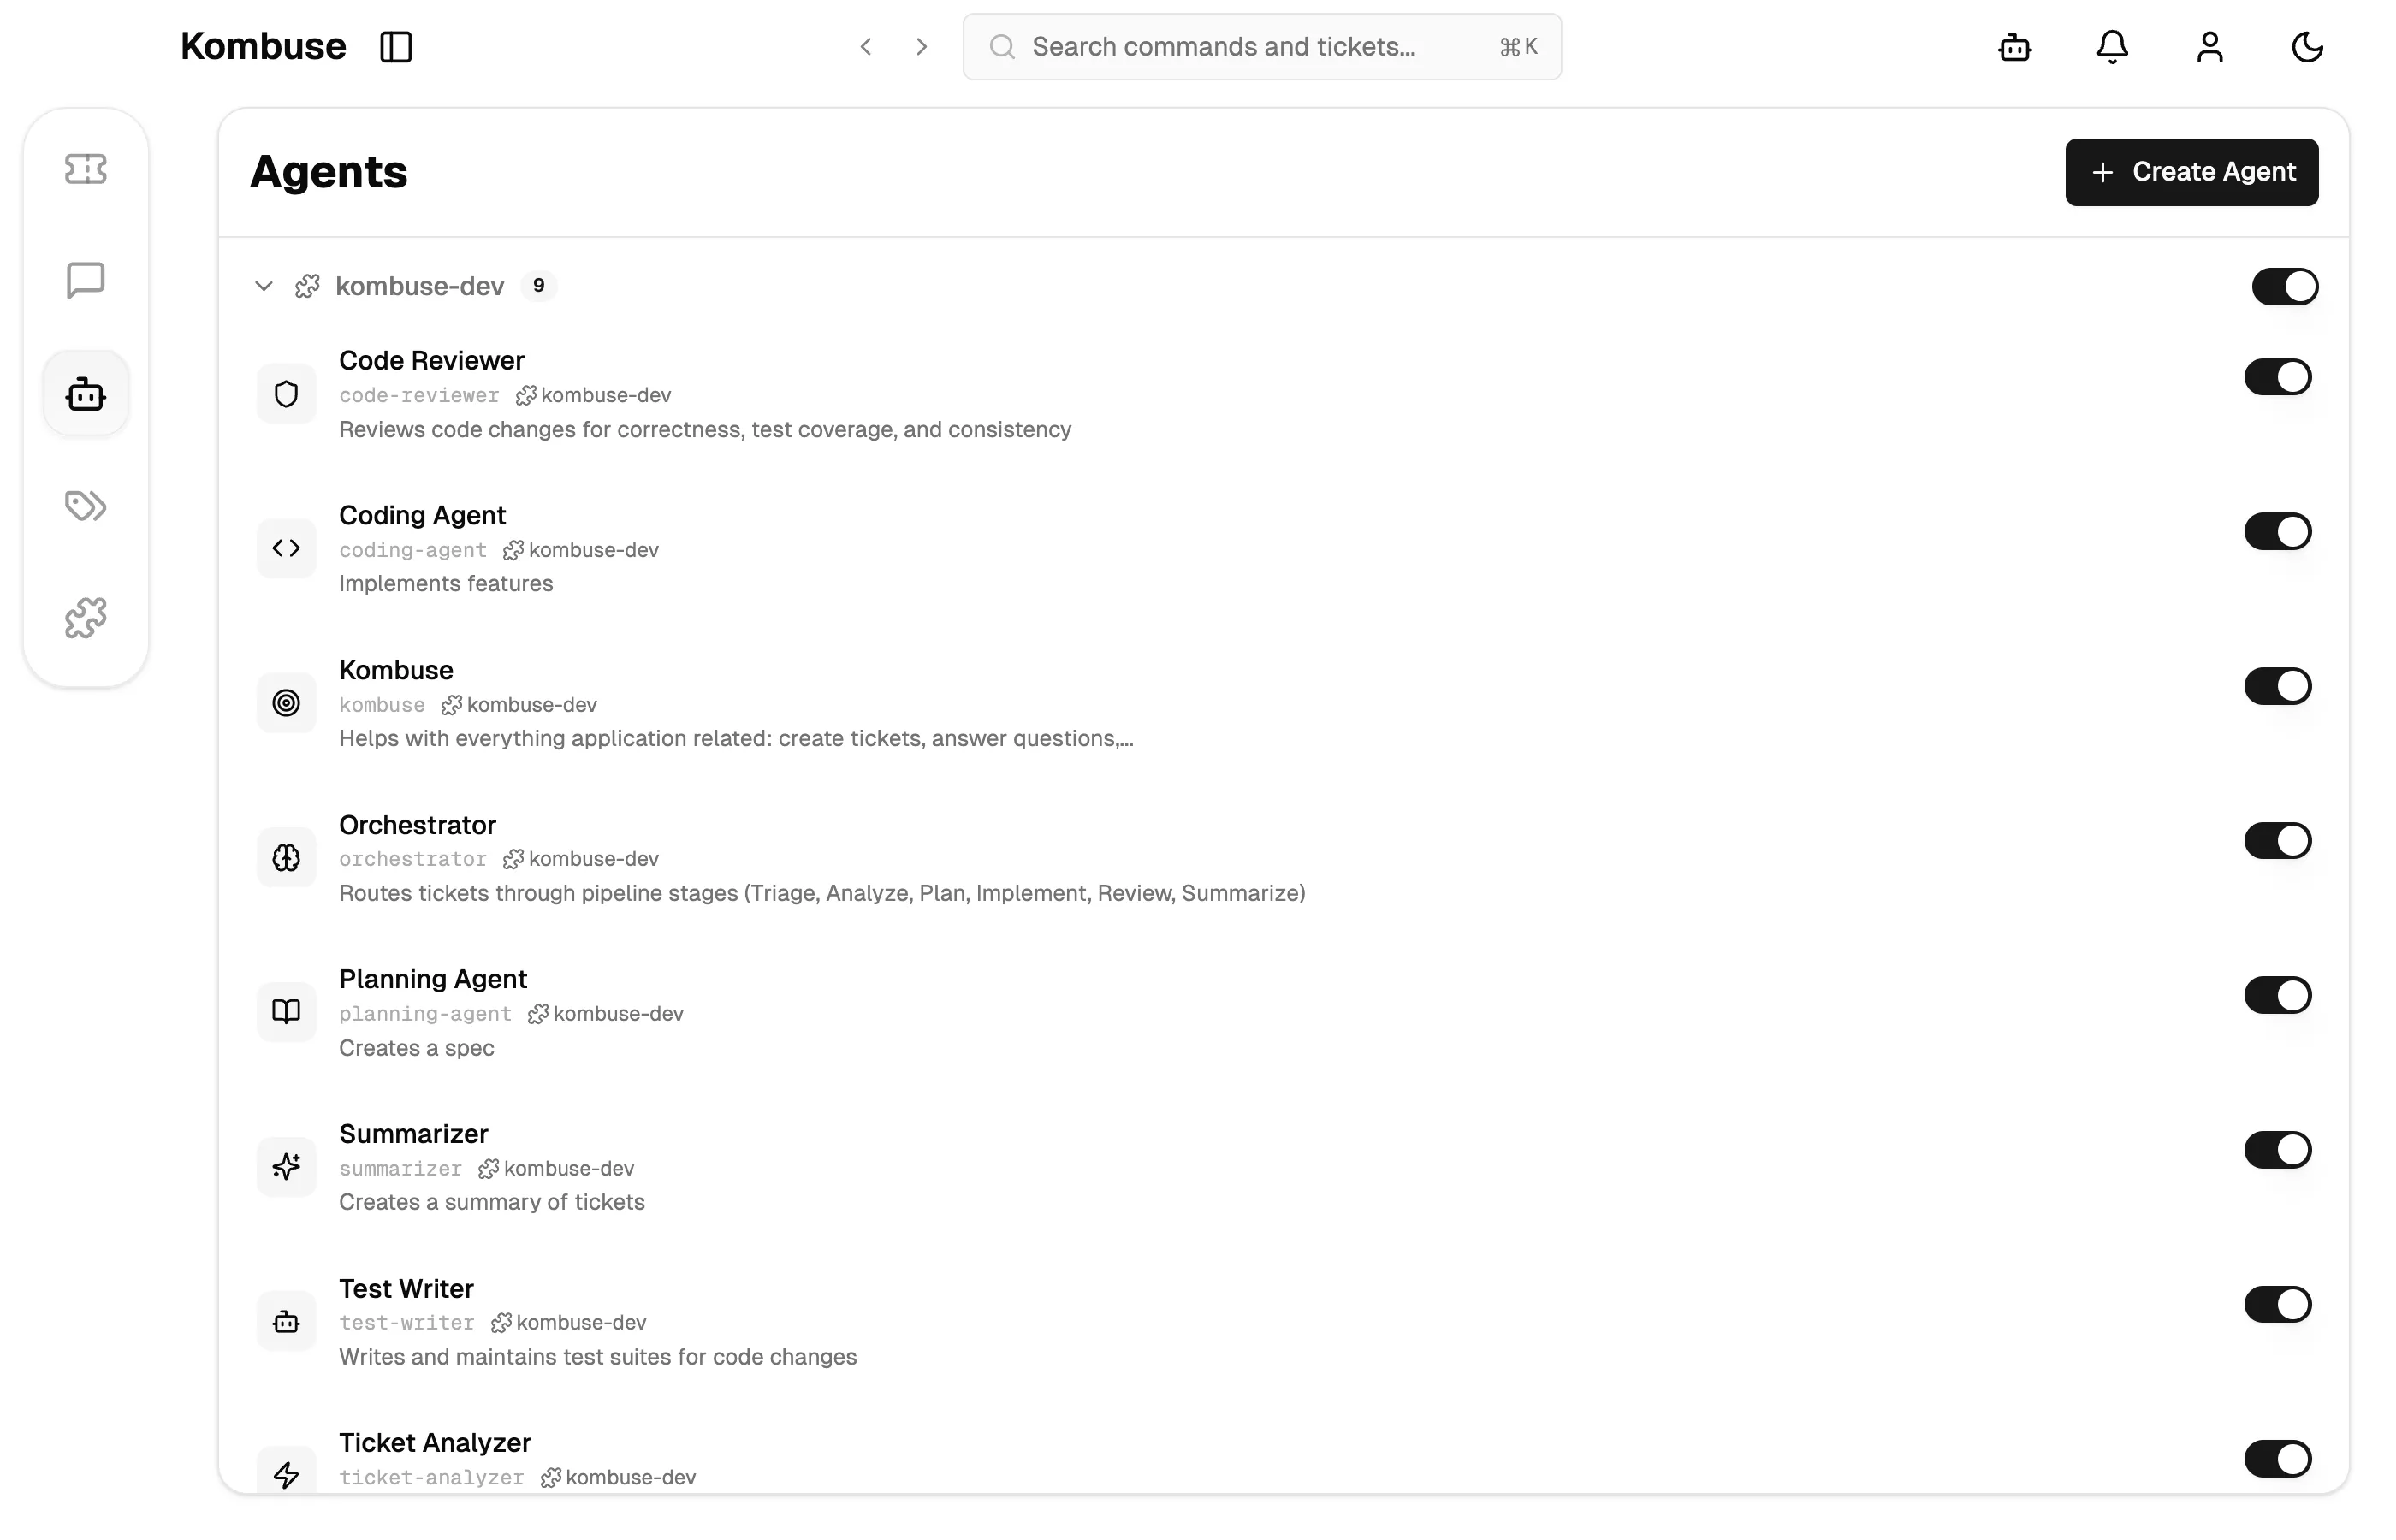
The plugin is designed to be a starting point — every part of it is customizable. Call specific agents directly via @ syntax in ticket comments, disable agents you don’t need (e.g. the orchestrator if you prefer manual routing), or modify any agent’s prompt, triggers, and permissions to fit your workflow. The included agents incorporate lessons learned from building and shipping Kombuse itself.
Installing the dev plugin and trying the different agents is highly recommended — it’s the fastest way to get a feel for what Kombuse can do and how agent-driven workflows fit into your development process.
For more detail, see Agents and Agent Triggers.
Next, follow the First Ticket tutorial to experience the full agent-driven development pipeline — from ticket creation through triage, planning, implementation, and code review.